Bearing Removal
- Take off the flywheel, adjustment knob, and the rotating plate.
- Remove the stainless steel shaft.
- Insert the long screwdriver or dowel through the hole of the good bearing (or the one that you are not removing) and place the tip against the faulty bearing. Tap the screwdriver handle or dowel with the hammer. Work your way around the inside of the faulty bearing, tapping it as you go. Keep tapping until the bearing is knocked out.
Note of caution: If you are using a screwdriver make sure the tip of it is resting against the bearing and not part of the mill. If the screwdriver is not resting against the bearing the mill can be gouged, making it difficult to properly seat the replacement bearing. Also, be careful to hit your screwdriver and not your hand!
Replacing Bearings
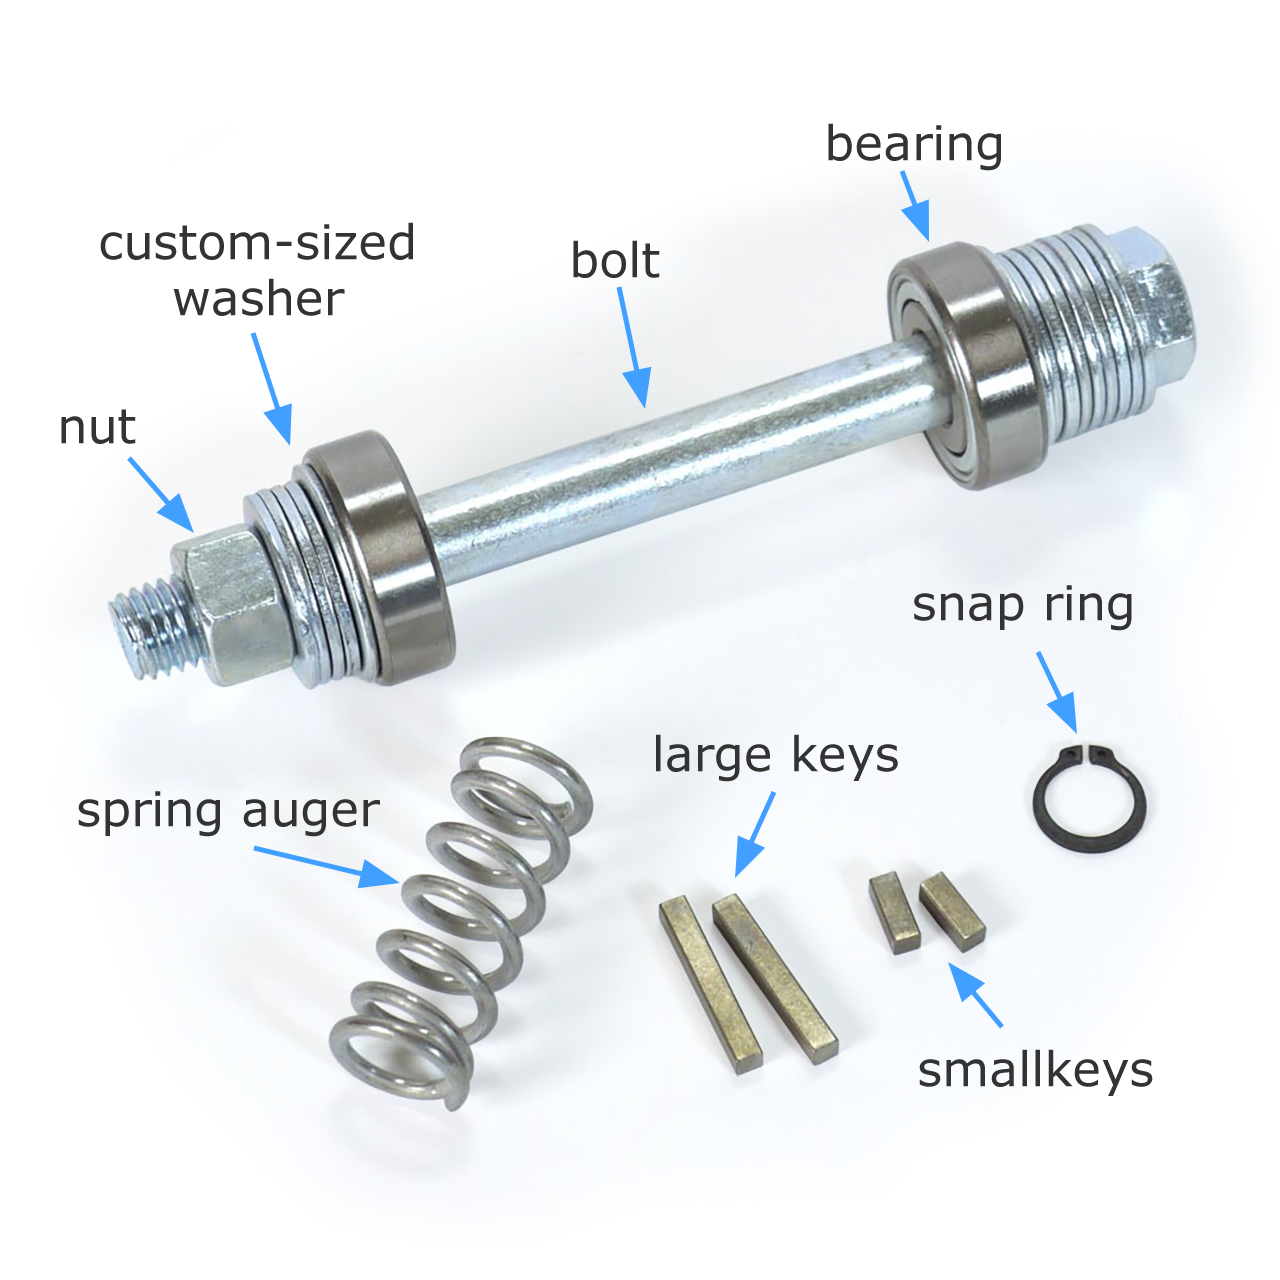
To replace the bearings you will need a set of crescent wrenches, and/or sockets, vaseline, and the bolt assembly from the just-in-case kit.
- With your finger or a toothbrush smear vaseline around the circumference of the empty bearing hole. Now, pick up the Just-in-Case kit and unscrew the nut from the end of the bolt and remove the washers, the custom-sized washer, and the first bearing. Leave the rest of the assembly intact.
- From the front of the mill (where the grinding plates fit) slide the end of the bolt and the remainder of the assembly through the center hole of the stationary grinding plate and through the spot where the stainless steel shaft normally fits. Keep pushing until the replacement bearing fits up against the mill body in the same spot where the old bearing rested. The new bearing will not be able to seat properly yet. This is normal.
- The threaded end of the bolt should emerge from the hole on the side of the mill where the flywheel normally sits. Put the second replacement bearing, the custom-sized washer, and the rest of the washers you removed from the bolt assembly onto the bolt. They must be installed in that order.
- Replace the nut and screw it on. Make sure that the replacement bearings are both pushed against the recesses in the mill where they normally sit. Using two wrenches, or a socket and a wrench, gradually tighten the nut onto the bolt. As the nut tightens the bearings will slowly slip into place and firmly seat.
- Once both bearings are seated firmly unscrew the nut and pull the bolt assembly out. Keep the washers, and custom washers on the bolt and screw the nut back on for safekeeping.
- Replace the stainless steel shaft and reassemble the grain mill.
Replacing the Grain Mill Spring Auger
Directions To Replace The Spring Auger
 Remove the adjustment knob, washers, and rotating plate. Remove the short key from the stainless steel shaft.
- Pull out the faulty or broken spring auger.
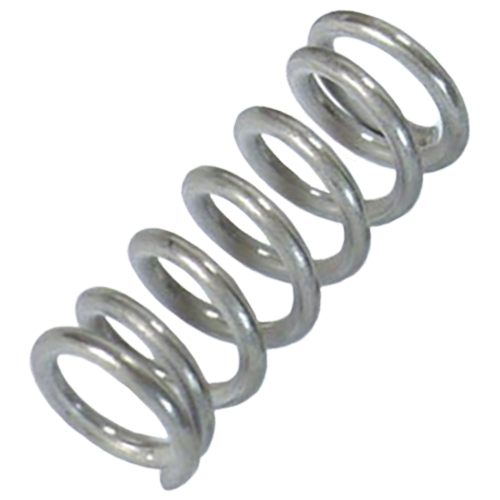
- Slip the new spring auger about an inch onto the stainless steel shaft. Push down on the overhanging portion of the spring so that it permanently bends. Slip the bent auger all the way back on the stainless steel shaft until it rests against the washers near the bearing. Note:The spring auger must be bent or it will not have enough purchase to turn with the shaft and propel grain toward the grinding plates!
- Replace the short key into the keyway (groove) on the stainless steel shaft. This may be a tight fit, and take some effort to press into place. Replace rotating grinding plate, washers, and the adjustment knob.


